MX Record Configuration: Namecheap.com
1. Sign into your Namecheap.com account in the top left corner of the page.
2. Select Domain List in the left sidebar.
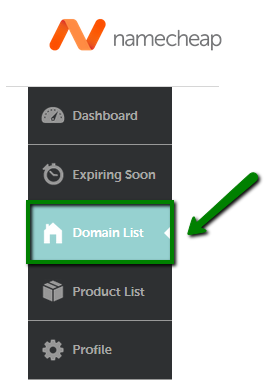
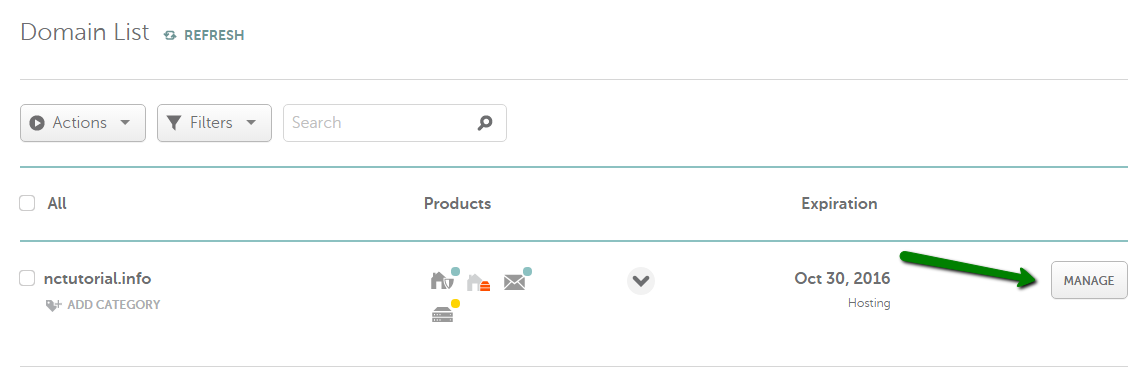
3. Click Manage next to the domain name you wish to set DNS records for.
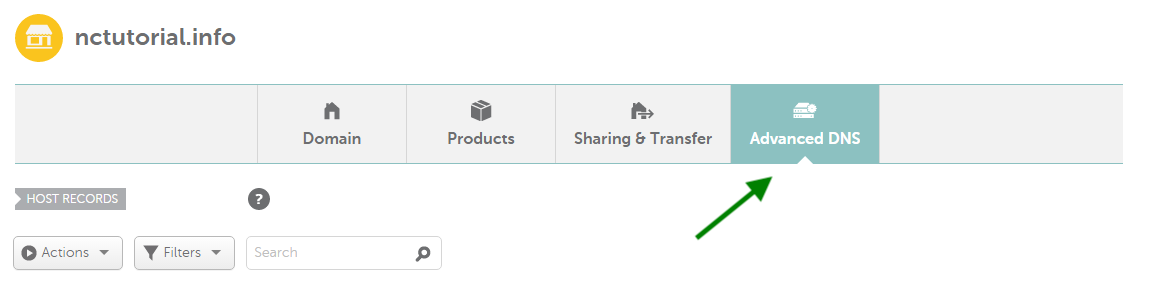
4. Navigate to the Advanced DNS tab.
** NOTE: Before setting up your mail service, be sure that there is no CNAME record created for a bare domain, (e.g., yourdomain.tld) in the Host records section, or email will not work correctly. CNAME has the highest priority and prevails over all the other records for the host name, including MX Records which are responsible for mail delivery.
5. Go to the Mail Settings section.
6. Select Custom MX from drop-down menu next to Mail Settings section.
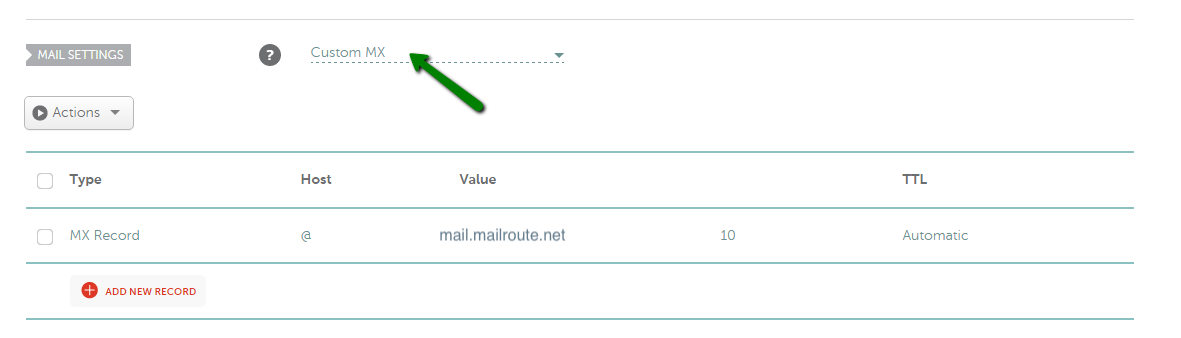
7. Add the following MX Record:
- Type: MX Record
- Host: “@“
- Value (MailServer): mail.mailroute.net
- MX Pref: 10
8. Once all necessary settings are selected, be sure to save changes.
Click here to link to NameCheap.com documentation.
Start a free 30-day trial today.
Contact sales@mailroute.net or support@mailroute.net for more information.
Comments
0 comments
Please sign in to leave a comment.